


Speech Bubbles 101
Simple tips for making comics text flow

Recently, a cartoonist I’m working with asked how I plan out speech bubbles in my graphic novels. I realized I had so much to say on the topic (way more than I can fit in this post!), so I thought it might be helpful to share some of my tips with you. After all, speech bubbles play a crucial and unique role in comic storytelling.

Placement:
Speech bubbles take up a lot of space, so I plan for them from the very start. When I thumbnail my pages, I sketch in the approximate size of the speech bubbles, even if I don’t yet know exactly what they’ll say. This way, I’m already making room for them as I plan my page composition.
When in the penciling or inking stage, I write out the text first, then draw the speech bubble around it. This will help ensure there’s enough room for the text and you don’t have to cram it inside.
Understanding reading order is important: In the West, people read from left to right and top to bottom. This means readers will typically look at the speech bubbles starting from the upper left, then move to the right, and finally down to the left again. Scott McCloud’s wonderful Making Comics has a great chart that illustrates this:

Tip for beginners: if you’re not sure where to put speech bubbles, put them along the top of the page—that way they don’t interfere with the art, and the reading order will usually make sense. Here’s an example of that type of placement from Faith Erin Hicks’ The Nameless City:


Size and shape:
There’s a lot of variation in terms of size and shape in speech bubbles and what you choose will often depend on the type of comic you’re telling. Some artists, like Jen Wang in The Prince and the Dressmaker, prefer a lot of white space and for the speech bubbles to be tall and narrow. While others prefer that the speech bubbles to take up less space.
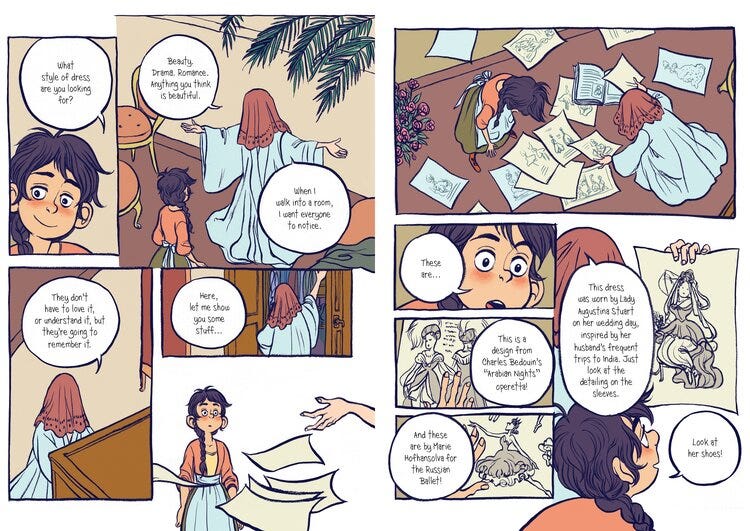
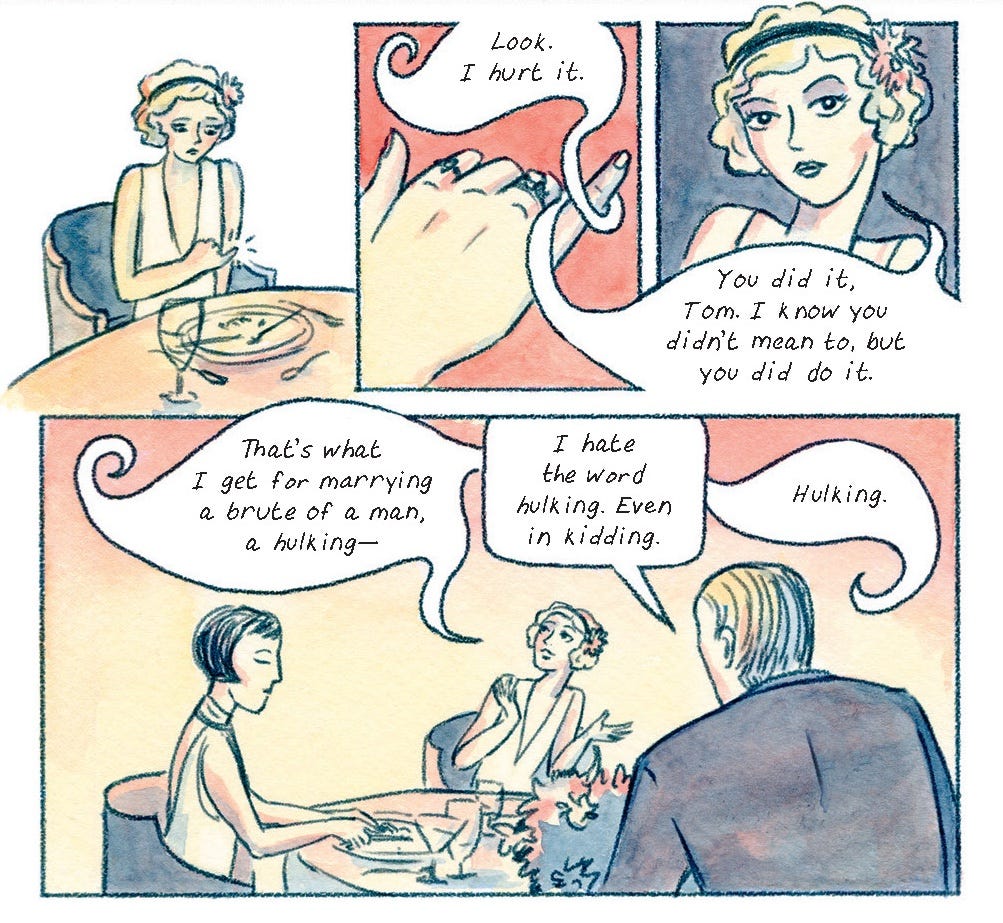
Jen Wang’s THE PRINCE AND THE DRESSMAKER It’s generally good practice to use a consistent type of speech bubble throughout the book, unless there’s a good reason to change it up. For example, in my graphic novel adaptation of The Great Gatsby, I gave Daisy sinuous and flowing speech bubbles to match the description of her voice in the original book:


The speech bubbles can mimic your character’s emotions. For example, if your characters are uncertain, their speech bubbles can mimic that. Tillie Walden does that very well in Are You Listening?, both with the bubble shape and tails:

Tillie Walden’s ARE YOU LISTENING? Design considerations:

It’s good practice to generally keep the same amount of distance around the text to the edge of the bubble, unless you’re intentionally crowding it (like if someone is shouting), or making it spacious (like if someone is quiet or uncertain.)
For most of my text in my books, I use a font based on my handwriting. I like to work in sentence case since I prefer how it looks and how it more matches the softer mood of my books. However, it means I have to make my speech bubbles bigger than I would if I was working in all caps since the line spacing can be smaller in all caps.
My general practice is to keep the font the same size for all the dialogue in the book except when there is good reason to change the size—like with shouting or whispering. I think this allows for an easier reading experience.
I prefer a hand drawn line for my speech bubbles, even though the program I draw in, Clip Studio Paint, has a lot of tools for making speech bubbles. And even though this takes me more time to draw out the speech bubbles, I think it looks a lot better and more naturally fits in with my art style. I find computer drawn bubbles sit on a different plane from my art and distract from it.
When I create the final line art for the speech bubbles, I place the bubbles on a separate layer from the art. That way, it’s easier to move them around the dialogue needs to be changed later.
Speech bubble tails:
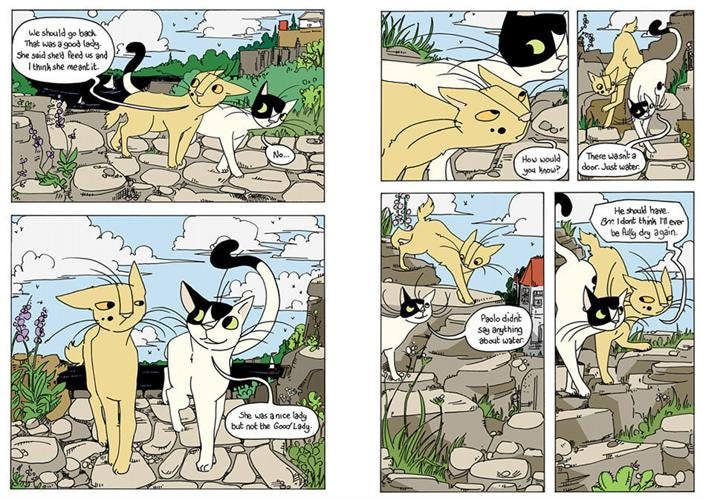
Make sure speech bubble tails point directly at your characters’ mouths. I struggle with this sometimes, but it really helps clarify who’s speaking and adds a certain precision to the dialogue. For a great example, check out Ursula Murray Husted’s The Cat’s Story —she handles speech bubble tails beautifully in her work:

THE CAT’S STORY by Ursula Murray Husted The speech bubble tail can have a lot of personality, depending on the shape, length, waviness, etc. Tails can be creepy or sensuous, but I try not to overdo this effect. Here, I have Daisy Buchanan’s speech bubble wrap around her swollen finger to highlight it. You can see how different her speech bubble is compared to her brutish husband Tom’s rounded rectangle speech bubbles:
What about you?
When you’re reading or making comics, are there things you like or that confuse you about speech bubbles? Let me know in the comments below! Believe me when I say that I love talking about speech bubbles!

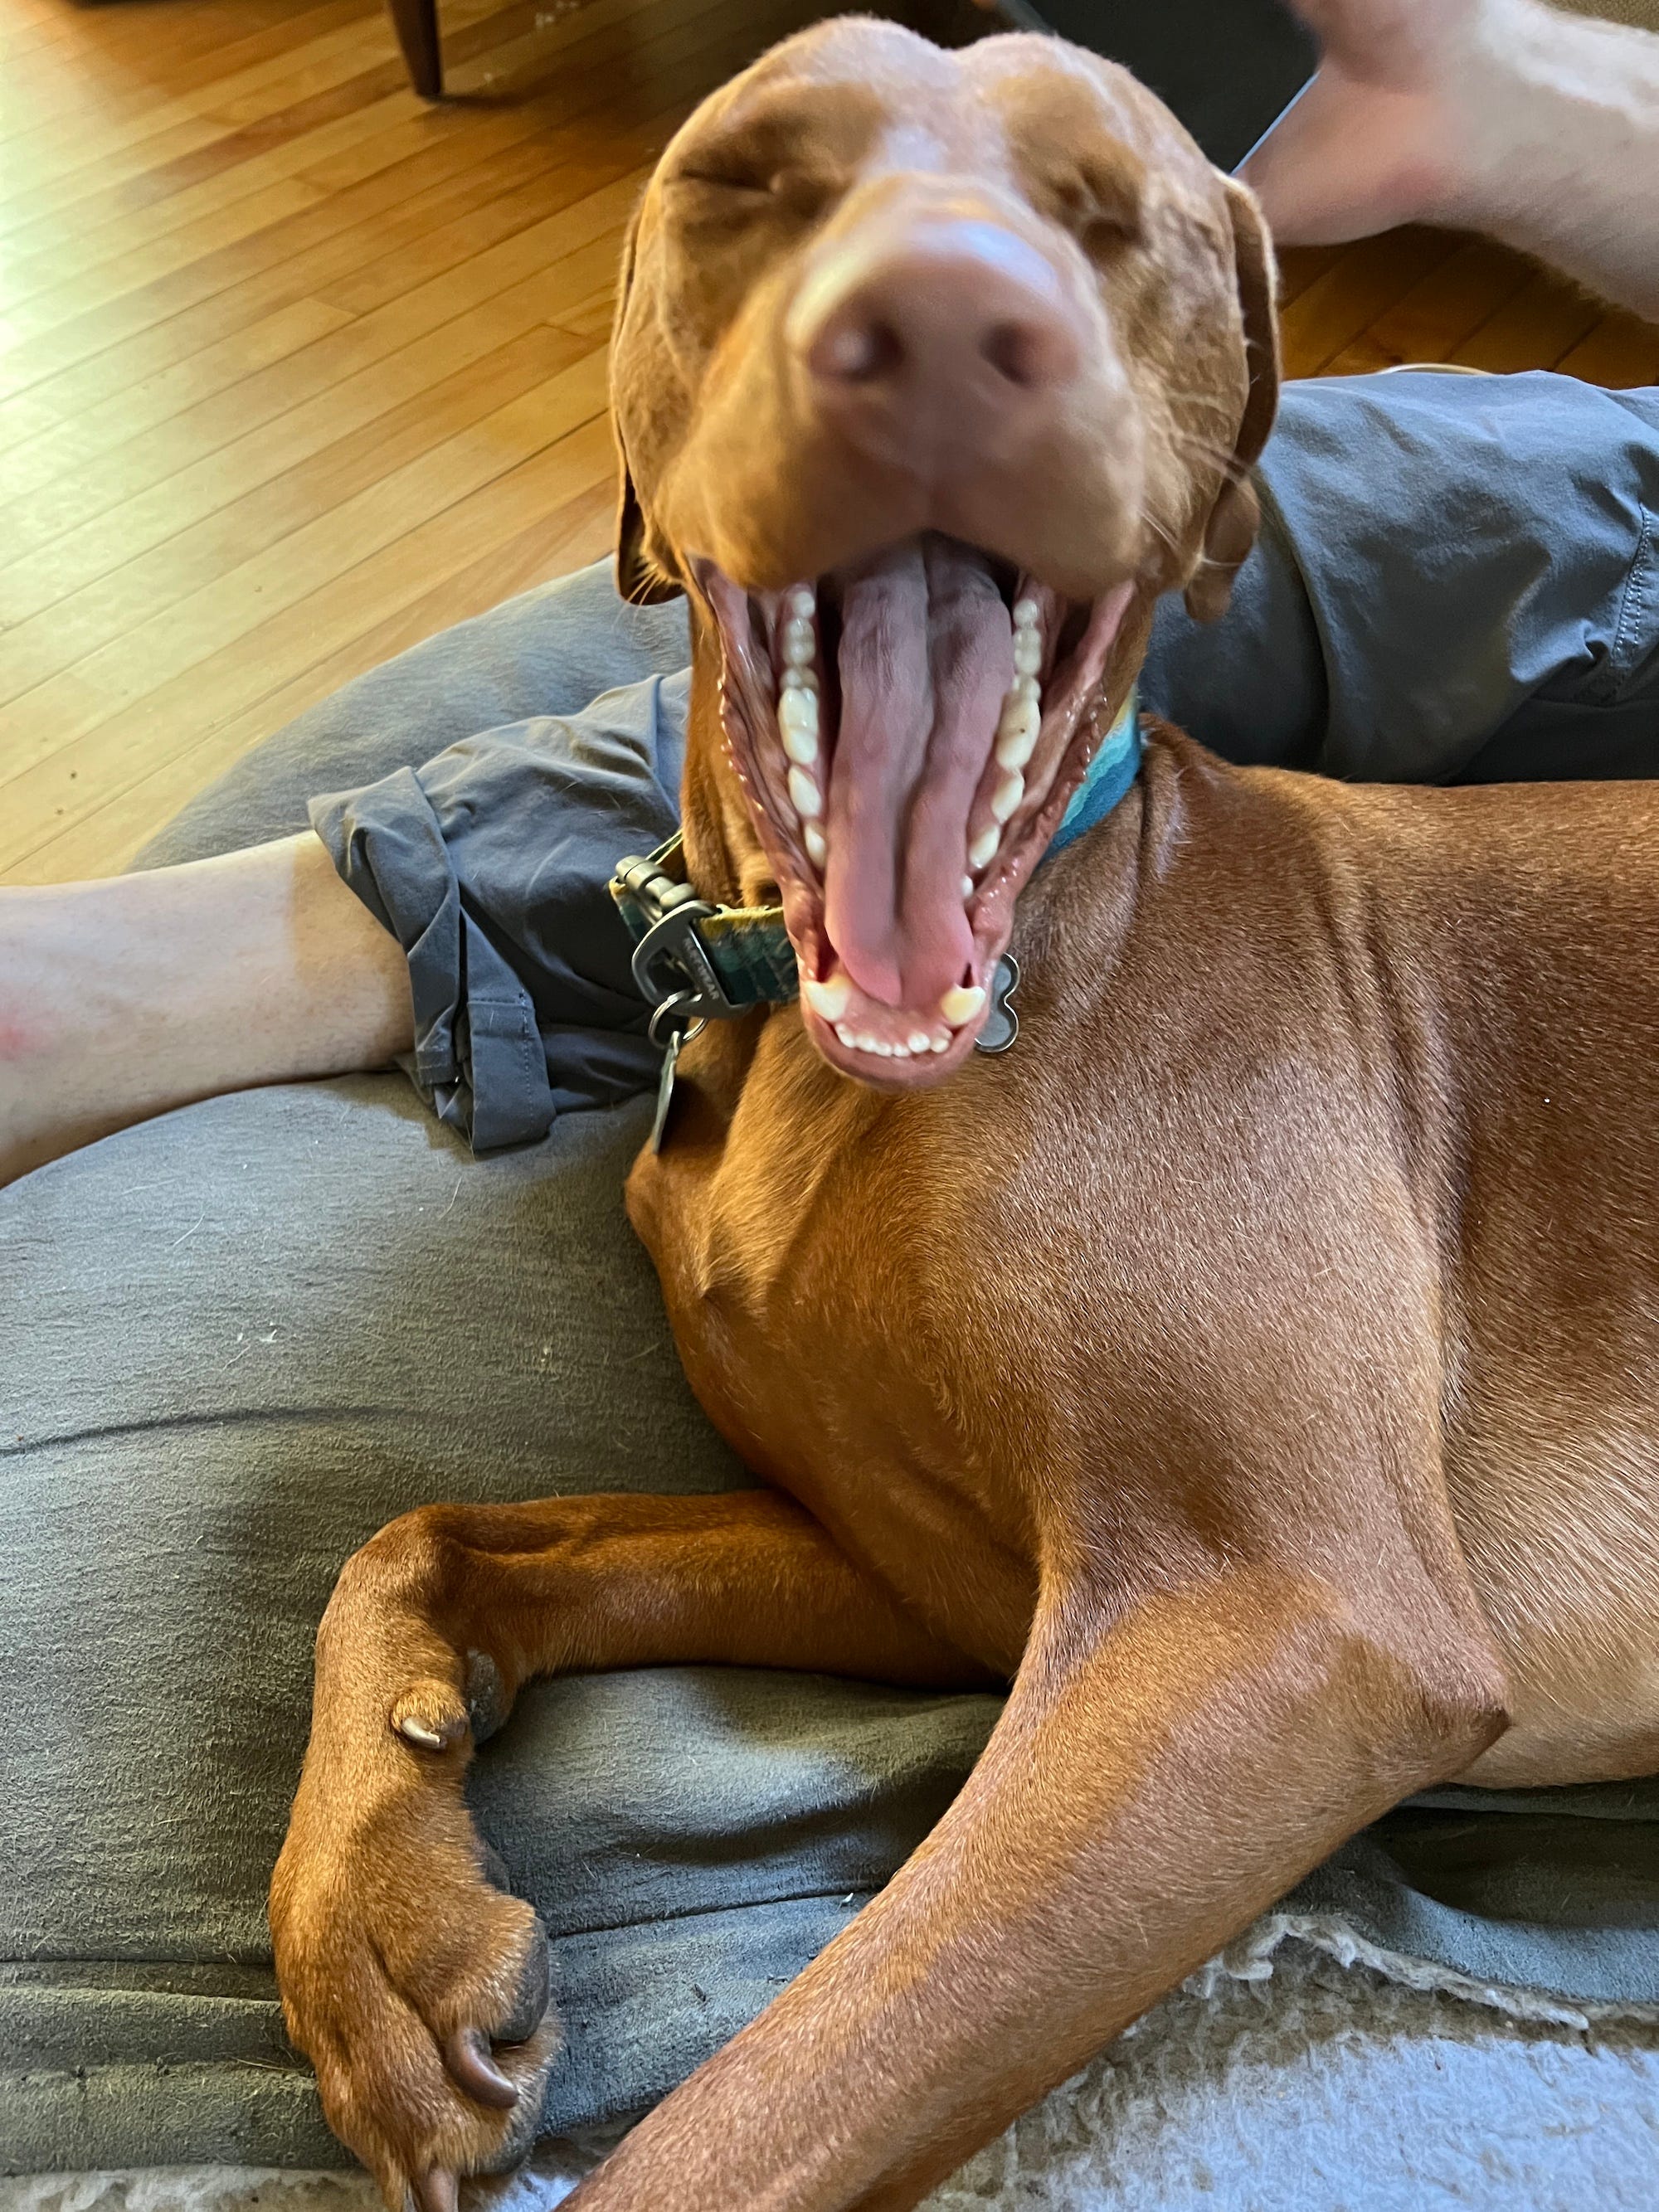
Leif love
Leif continues to be on drugs and sedation for his leg injury. He’s healing, but it’s hard to see him so sedated.
Big news coming soon…
In the next week or so, I’ll finally be able to share the title of the graphic novel adaptation I’ve been working on for the last year and a half! I cannot wait to share it with you all!

Take care and keep creating!
-Katharine
P.S. My post for paid subscribers this week was a video on a question I frequently get asked: “Do artists and writers need to be on social media?”
Really cool post! I love the use of other comics’ for examples. And I can’t wait til the big news!
I struggle a lot with speach bubbles and their placement; and as a teacher, I've been noticing through the years that bubbles and text are one of the things that students struggle with the most, maybe because their importance is so overlooked...
Thanks for such a great, clear post!